Creative Coding: Python Final Project: “MoonPy”
“I’m astonished this worked out. The hardest part about the project was waiting for a clear night in the American Northeast.”
For my final in Creative Coding: Python at Parsons I used a raspberry pi 4, picam v2 camera and basic telescope for lunar photography! Astrophotography has always been a hobby I’ve wanted to develop. I have a basic telescope, and it has never been possible for me to mount my DSLR camera to it. After discovering that the raspberry pi camera could easily be mounted to the telescope and that, by harnessing python coding power, the raspberry pi camera could take high quality images, I decided I will use the raspberry pi to conduct astrophotography through my telescope.
Inspiration credited here: [Raspberry Pi Astro Cam : 8 Steps (with Pictures) - Instructables].
Step 1: Configuring Raspberry Pi and Picam
I began with the raspberry pi official documentation for both the unit and the camera to set up the devices and prepare equipment.
With a combination of these sources [Camera software - Raspberry Pi Documentation] [Connect the Camera Module | Getting started with the Camera Module | Python | Coding projects for kids and teens (raspberrypi.org)] [Setting up the Pi NoIR Camera with Raspberry Pi | Raspberry Pi | Maker Pro] [picamera2-manual.pdf (raspberrypi.com)] [Camera - Raspberry Pi Documentation] I was able to take my first test image with the raspberry pi camera 1 NoIR, along with the test setup pictured below. I used the extra long picam wire to avoid the need to attach the raspberry pi to the telescope tripod.
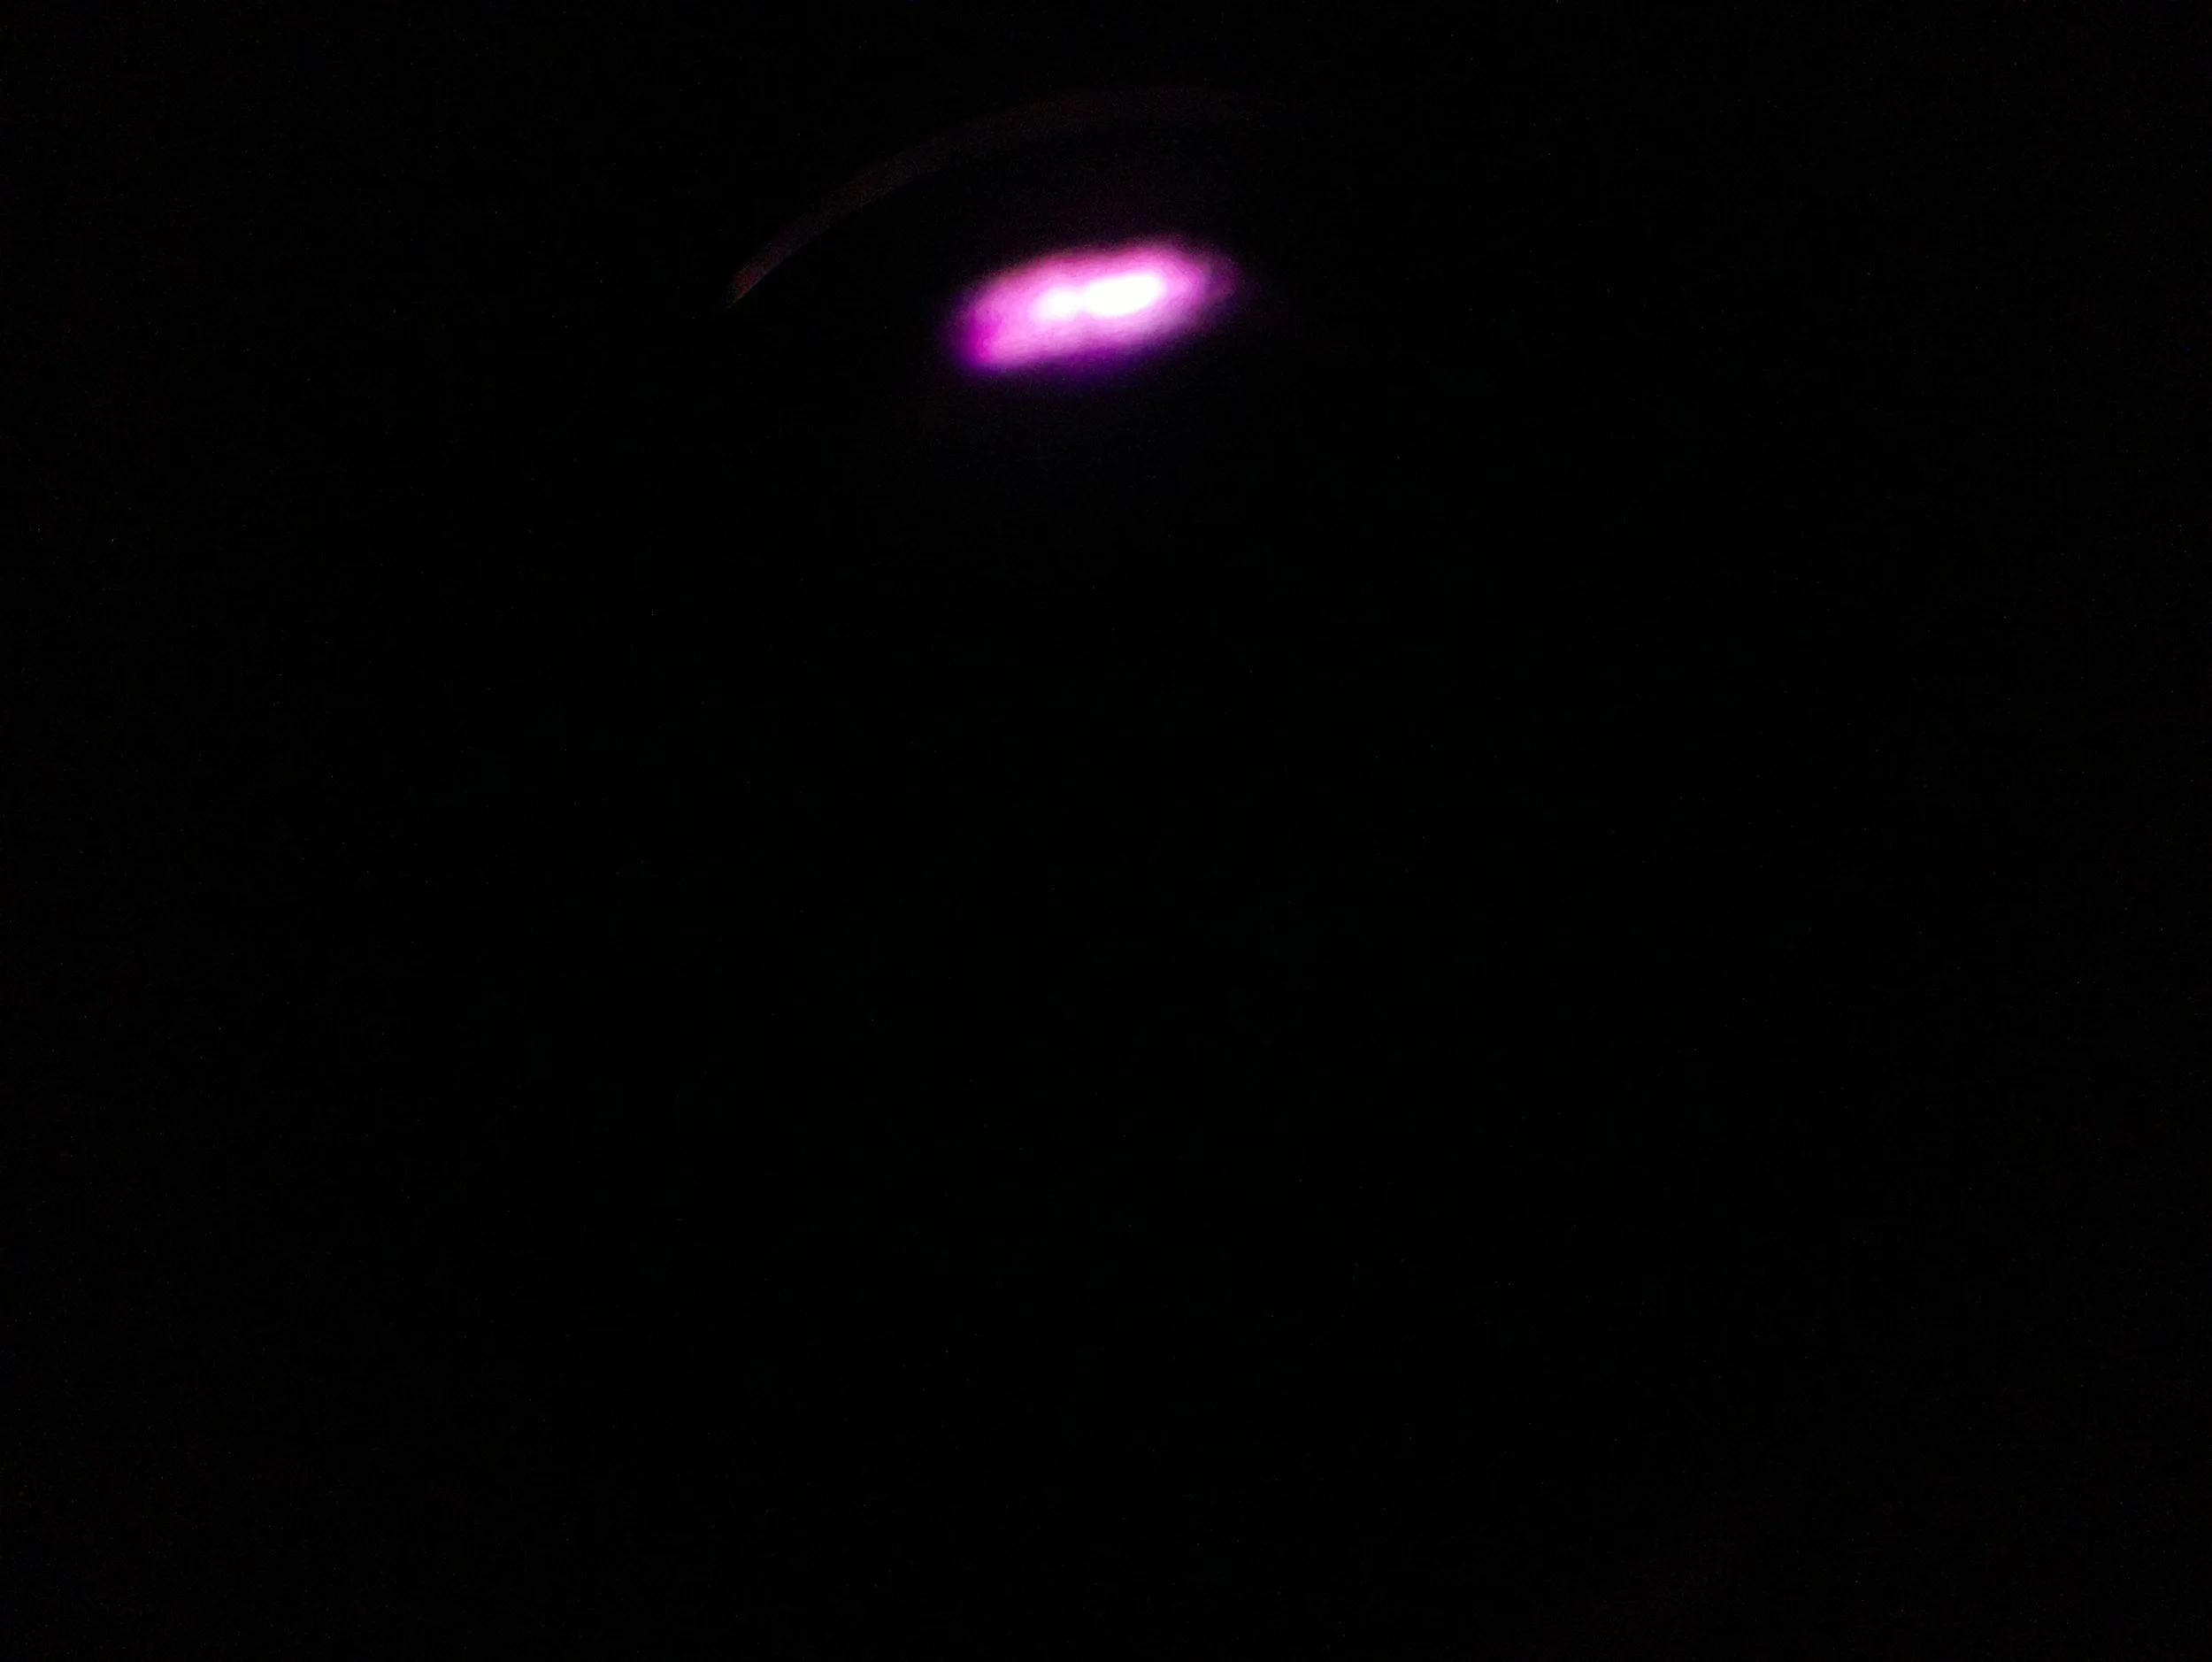
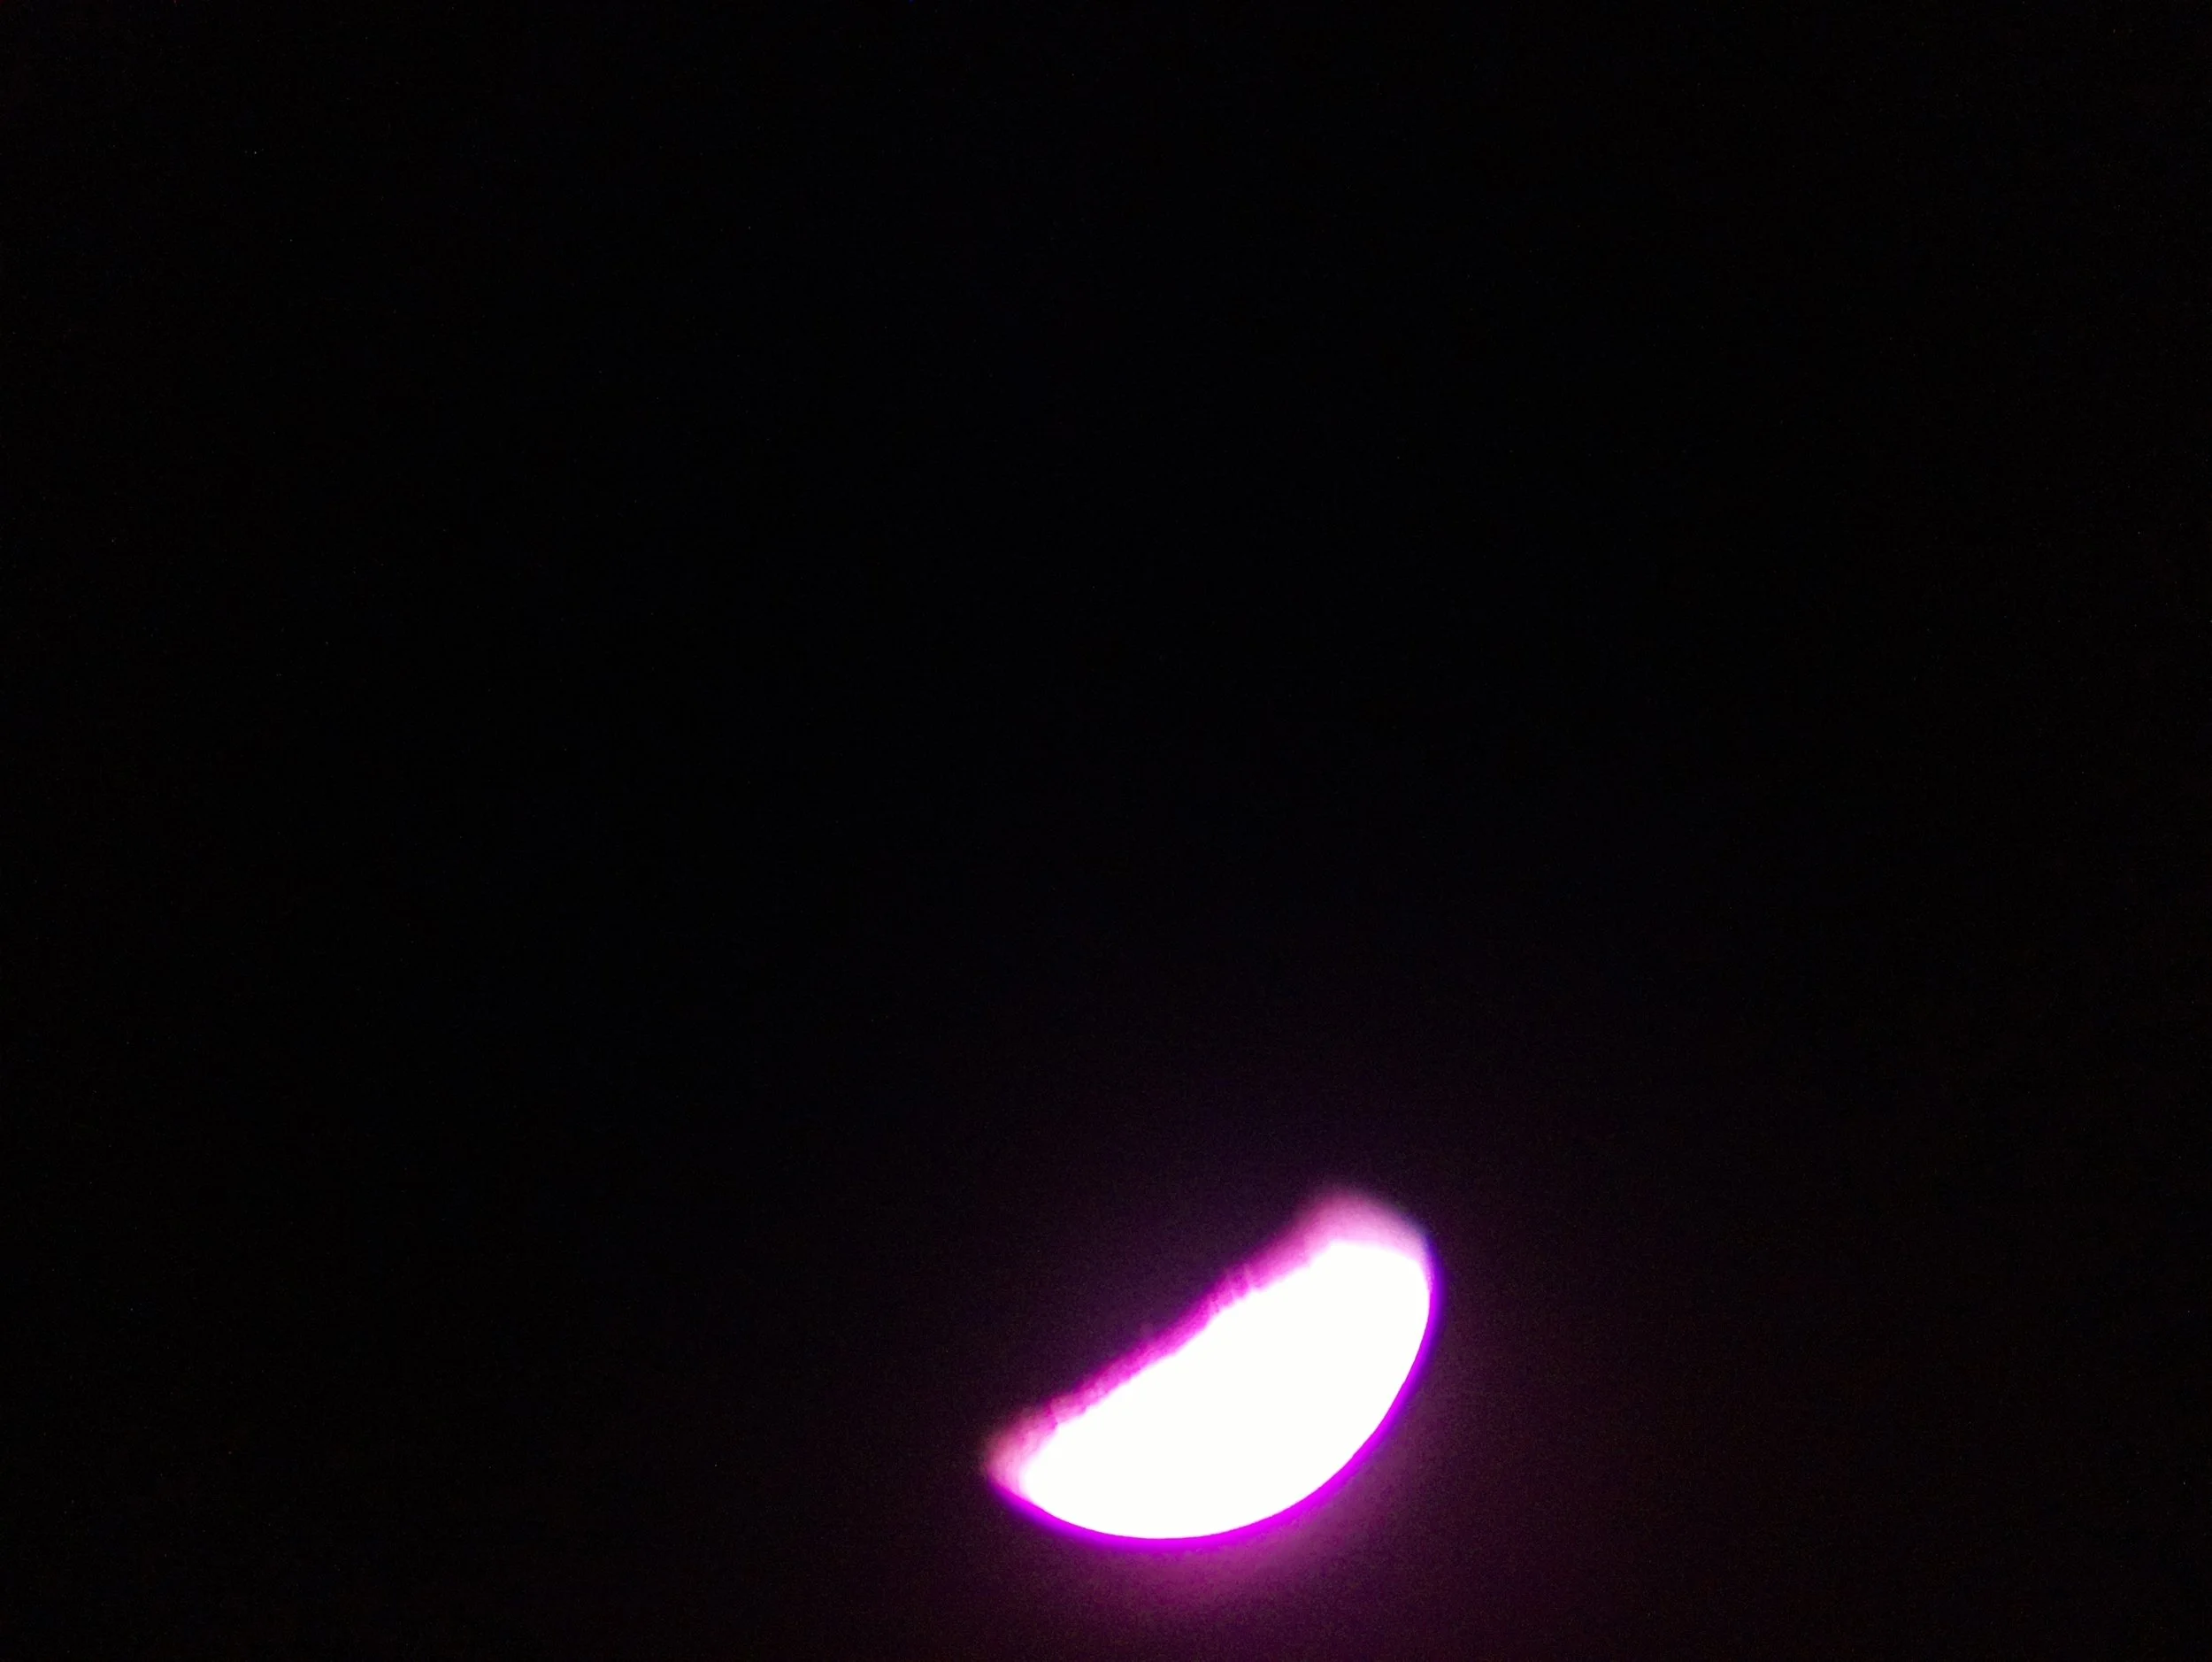
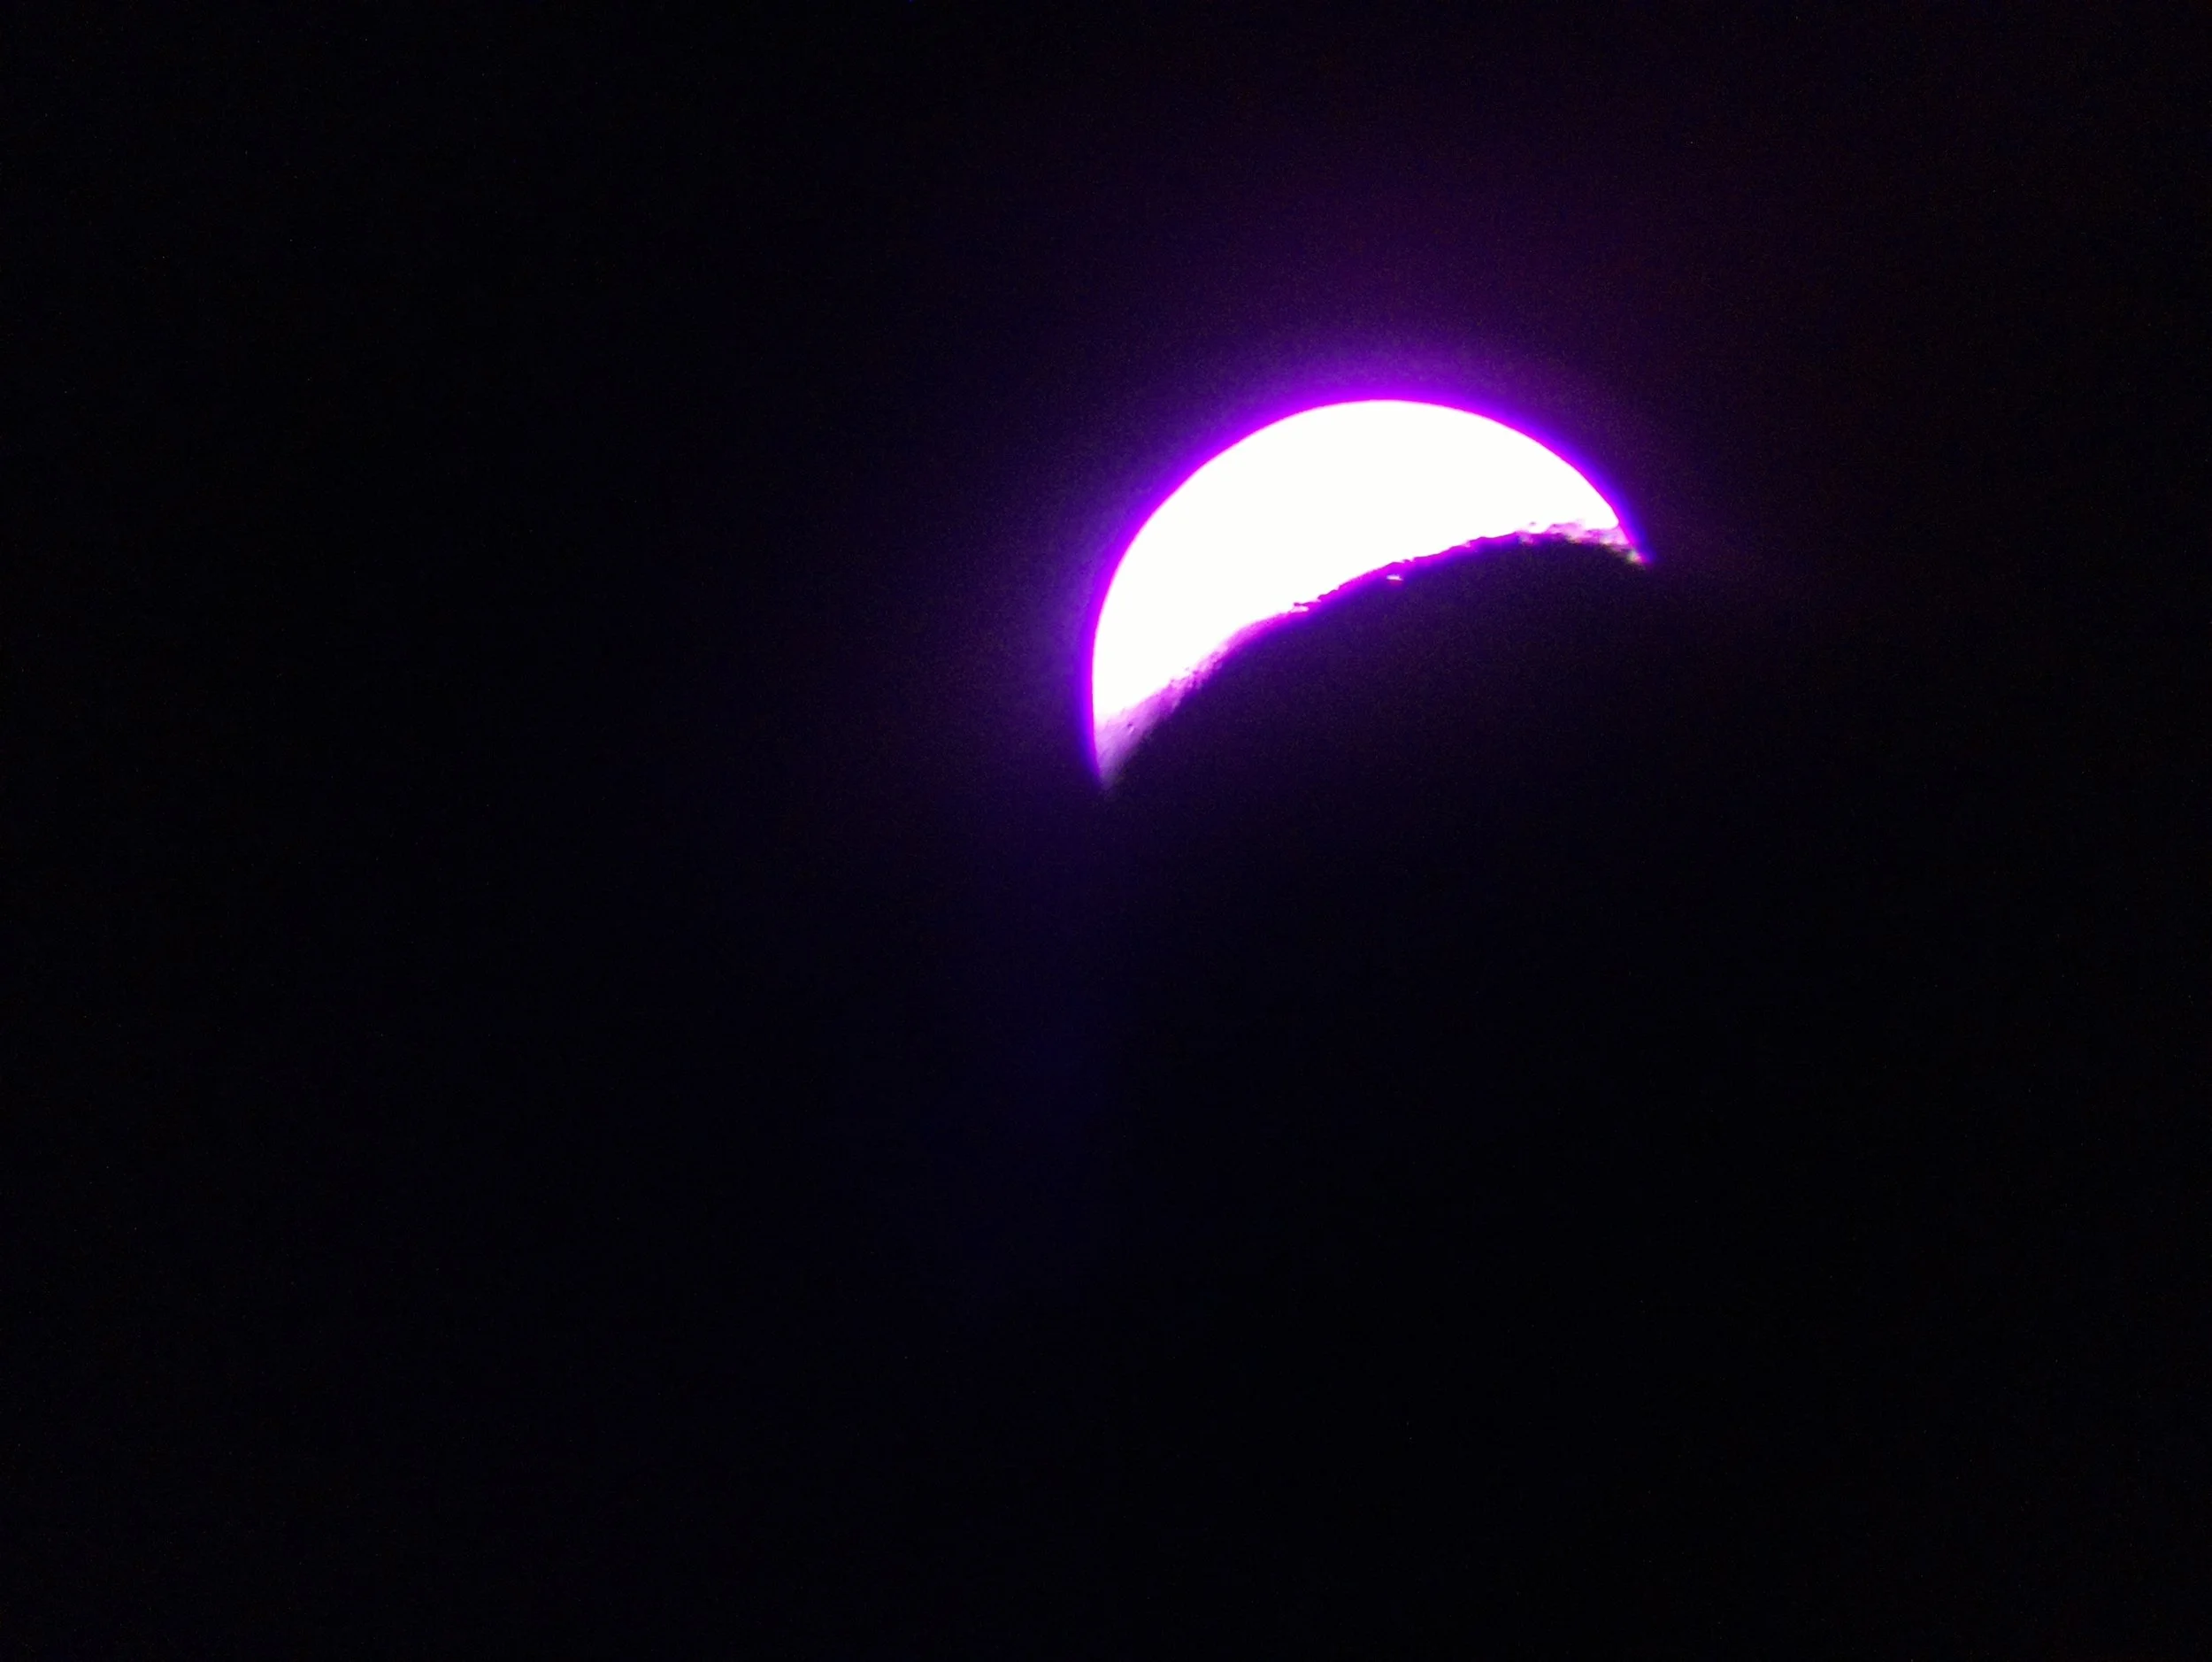
The following are the lunar photos taken after mounting the picam to the telescope:
Clearly a triumph of modern science, in absolute humblest terms. You can read my formal project debriefing here!


